 Listicle
Why Professional Insulation Installation Pays Off
Last Updated: November 14, 2026
Quick Summary
Professional insulation installation pays off because it controls heat transfer through insulation plus air sealing, closing the gaps that let conditioned air escape. Doing only one solves half the problem, so a sealed, correctly filled thermal boundary is what actually cuts energy bills and HVAC strain.
- Insulation addresses conduction while air sealing addresses convection, and a contractor who does only one has solved half the problem.
- Sealing and insulating the envelope delivers consistent temperatures, lower HVAC strain, and better indoor air quality.
- Compressing fiberglass batts into a shallow cavity lowers effective R-value, so you pay for performance you never receive.
- Compare quotes on scope, not total, since a lower number that omits air sealing is a smaller job.
- Installed depth is what counts, so the contractor should verify it against the target R-value before cleanup.
Table of Contents
- How Professional Insulation Cuts Energy Bills and Heat Transfer
- Comfort, Indoor Air Quality, and HVAC System Strain
- Professional Insulation Installation vs DIY: What Changes
- What Insulation Installation Cost Really Covers
- The Insulation Installation Process, Step by Step
- Signs of Poor Insulation Installation to Check For
- Choosing the Right Insulation Material and R-Value for Your Home
- Booking Your Insulation Assessment
- Frequently Asked Questions
How Professional Insulation Cuts Energy Bills and Heat Transfer
The core benefit of professional insulation installation is control over heat transfer. Insulation slows heat movement through the building envelope, and air sealing closes the gaps that let conditioned air escape.
The U.S. insulation contractors industry is estimated at $11.6 billion in 2026, down 0.2% that year, according to IBISWorld's insulation contractors market size data. That is a mature industry selling one thing: a sealed, correctly filled thermal boundary.
Heat moves three ways through a home: conduction through solid materials, convection through air leaks, and radiation (Heat Flow). Insulation addresses conduction. Air sealing addresses convection. A contractor who only does one has solved half the problem.
That is the first thing most homeowners get wrong. They buy more insulation for an attic already leaking air through recessed lights and top plates. The R-value goes up, the bills barely move.
Air sealing is the piece that makes insulation perform. An air barrier installed alongside the insulation addresses gaps at rim joists, penetrations, and attic hatches, which can undo the material's rating. See how air sealing fits into a residential insulation project.
Comfort, Indoor Air Quality, and HVAC System Strain
Uneven temperatures are usually a symptom of a leaky envelope, not a failing furnace.
Sealing and insulating the building envelope changes three things at once:
- Consistent temperatures between rooms and floors, because conditioned air stays where it was delivered
- Lower HVAC system strain, because equipment runs shorter cycles to hold setpoint
- Better indoor air quality, because air sealing limits the path for attic and crawl space air to enter living space
That last point matters more than most guides admit. In many homes, the attic and crawl space connect to the living area through gaps around wiring, plumbing, and ductwork.
HVAC equipment also lasts longer when it is not fighting a leaky envelope. A system running continuously to recover lost heat wears faster than one that satisfies the thermostat and shuts off.
Professional Insulation Installation vs DIY: What Changes
The real difference between professional insulation installation and a DIY retrofit is not the material. It is the diagnosis, the coverage, and the warranty behind the work.
Here is how the two paths compare on the factors that decide whether the project actually saves energy:
| Factor | Professional Installation | DIY Retrofit |
|---|---|---|
| Assessment | Full attic, wall, and crawl space inspection before quoting | Owner judgment, often limited to visible areas |
| Air sealing | Sealed penetrations, top plates, rim joists | Frequently skipped or incomplete |
| Coverage | Hard-to-reach areas, knee walls, chases | Accessible areas only |
| Material choice | R-value matched to climate zone and assembly | Whatever is stocked at the store |
| Safety | Respirators, protective gear, ventilation handled | Owner exposure to fiberglass and foam chemicals |
| Moisture control | Vapor barriers and ventilation checked first | Often overlooked |
| Recourse | Workmanship warranty and a callable contractor | None |
A common DIY mistake is compressing fiberglass batts into a cavity that is too shallow, which lowers the effective R-value, so the homeowner pays for performance they never receive. Another is blocking soffit vents, which traps moisture in the attic and creates a bigger problem than the one being solved.
What Insulation Installation Cost Really Covers
Insulation installation cost depends on square footage, material, existing conditions, and prep. Pricing depends on the scope of each project, so for current prices or a quote, contact ThermTech Solutions directly.
A quote should itemize these components:
- Assessment and measurement of the areas to be insulated
- Air sealing of penetrations, top plates, and framing gaps
- Removal of old, compressed, or contaminated insulation where required
When you compare quotes, compare the scope, not the total. A lower number that omits air sealing or old insulation removal is not the cheaper job. It is a smaller job.
What Moves the Price Up or Down
Four variables explain most of the spread between quotes:
- Square footage and target R-value. A deeper target means more material and labor. Bringing a thin, settled attic up to a current recommended level is a different job than topping off an adequate one.
- Access and prep. A low, cluttered attic with limited clearance takes longer than an open, empty one. Removing old insulation, bagging it, and hauling it out adds labor and disposal cost.
- Air sealing scope. Sealing a handful of penetrations is quick. Sealing every top plate, rim joist, and recessed light in a large attic is not, and that work is where much of the energy benefit lives.
- Material. Material choice affects installed cost, and the options differ in cost per square foot, so comparisons should be made on the same scope of work.
How to Think About Payback
Payback depends on your starting point. A home with little or no attic insulation and obvious air leaks has the shortest payback, because the first dollars of insulation recover the most lost heat.
A useful frame: ask the contractor to estimate the current effective R-value, the proposed R-value, and the expected reduction in heating and cooling load. Combining air sealing with insulation is generally where the largest savings come from, rather than adding insulation alone.
Rebates, Tax Incentives, and Financing
Rebates and tax incentives change the math, and programs vary by utility, state, and year. Rebate and incentive programs vary by utility, state, and year, so confirm current eligibility before signing.
Financing is worth asking about for larger crawl space and wall projects, but compare the total cost of financing against the expected savings rather than looking at the monthly payment alone.
The Comparison That Matters
Two quotes for the same attic can differ by thousands of dollars and still both be fair, if the scopes differ. When comparing, line up the quotes on target R-value, air sealing included or not, old insulation removal included or not, vapor barrier and ventilation work, warranty terms, and whether installed depth is verified.
The Insulation Installation Process, Step by Step
A professional insulation installation follows a sequence. Skipping a step is how jobs fail quietly.
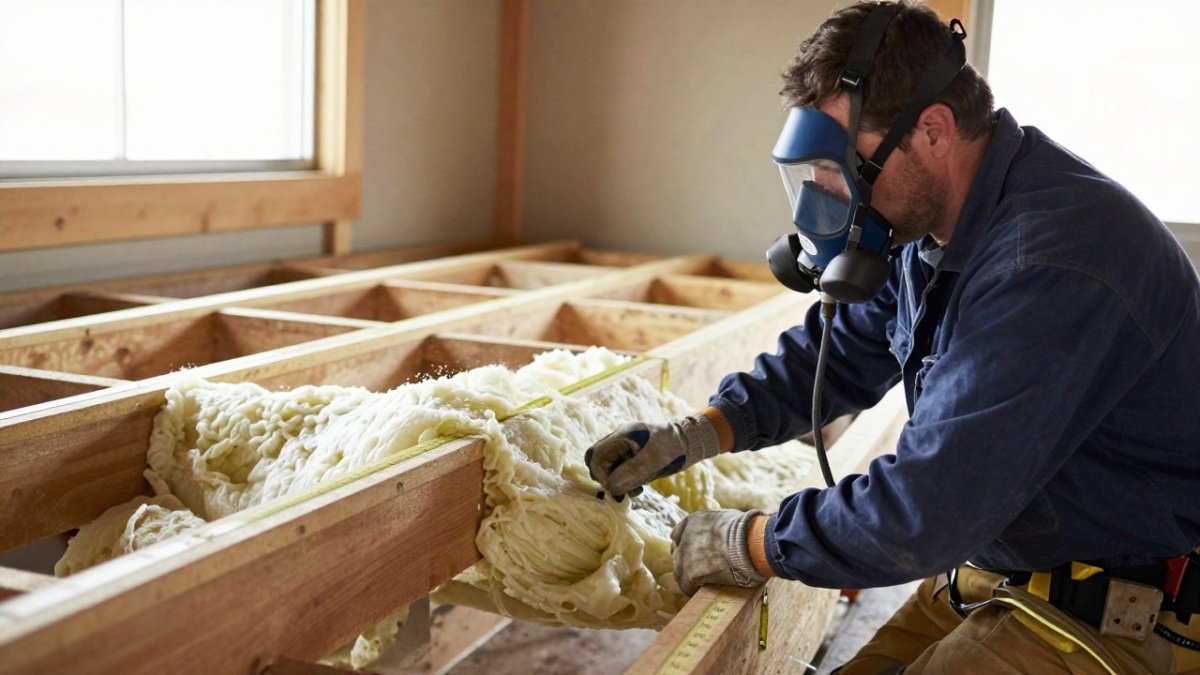
- Assessment. We inspect the attic, walls, and crawl space, check existing insulation depth, and look for moisture, pest damage, and air leaks.
- Scope and quote. You receive a written scope listing areas, materials, R-values, and prep work.
- Prep. Old insulation is removed where it is compressed or contaminated. Baffles go in at soffits to keep ventilation open.
- Air sealing. Gaps at top plates, penetrations, and rim joists are sealed before any material goes down.
- Installation. Blown cellulose, fiberglass, or spray foam is applied to the specified depth and density.
- Verification. Depth is checked against the target R-value, and the work area is inspected before cleanup.
Timing depends on scope. Same-day solutions are offered, and timing depends on scope. Larger crawl space and wall projects take longer.
Watch out: a crew that starts blowing insulation before sealing air leaks has locked in the original problem. Ask when the air sealing happens in the sequence.
Signs of Poor Insulation Installation to Check For
Poor installation usually shows up as symptoms before it shows up as a number on a bill. Check for these:
- Drafts near outlets, baseboards, and attic hatches, which point to missing air sealing
- Insulation below the top of the joists, meaning the installed depth does not match the quoted R-value
- Compressed or settled material, especially in blown cellulose that was installed too thin
If you suspect a crawl space problem, the right first step is an inspection rather than another layer of material. Book a crawlspace inspection to confirm what is actually happening before you spend on insulation.
Choosing the Right Insulation Material and R-Value for Your Home
Material choice follows the assembly, not the other way around. Each product fits certain cavities and conditions better than others, and the right answer for an attic floor is often different from the right answer for a rim joist or a crawl space wall.
Materials Compared by Application
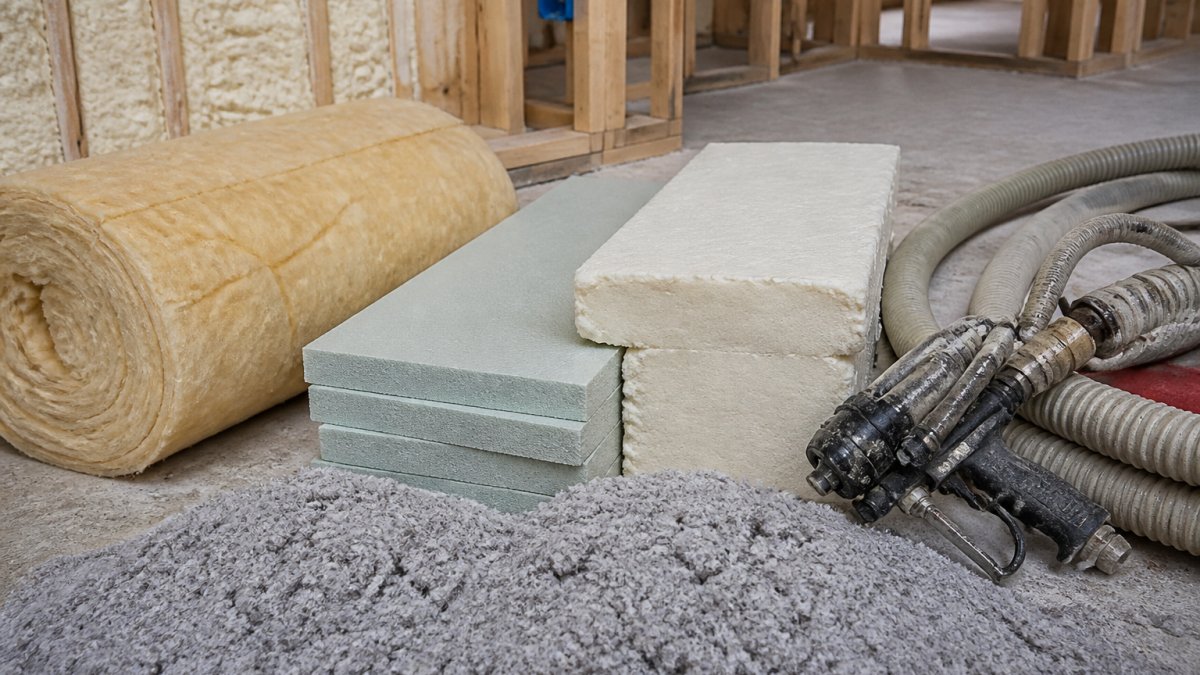
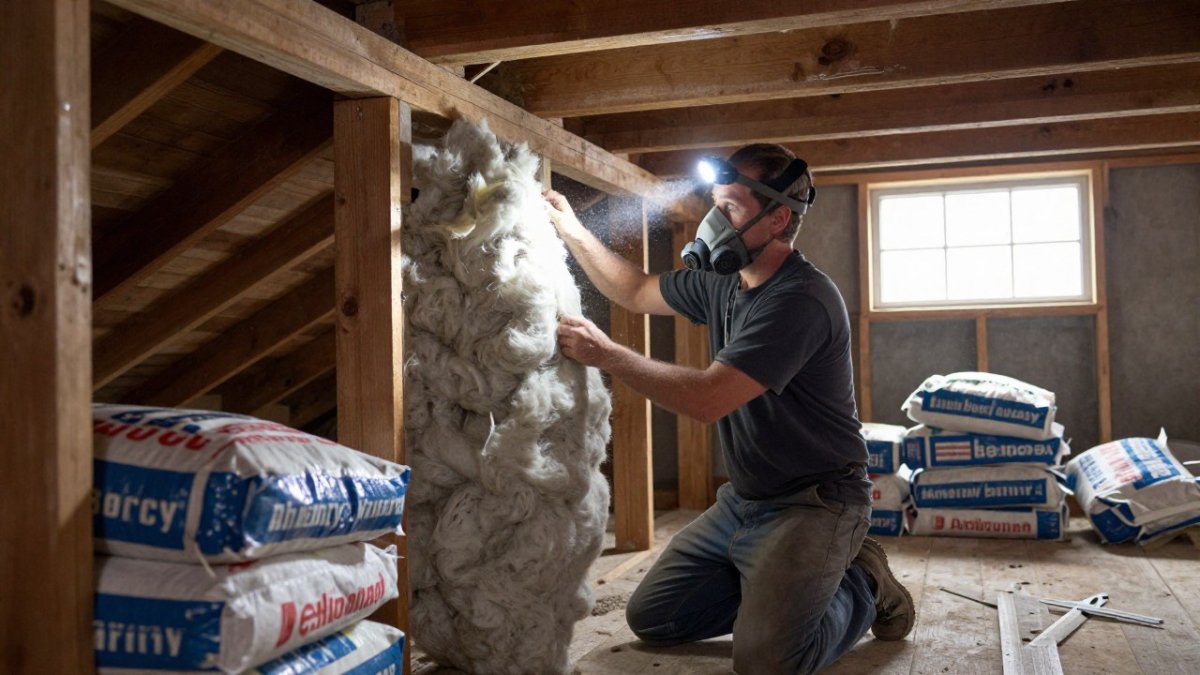
- Fiberglass batts and blown fiberglass. Best for open attic floors and standard wall cavities. Affordable and widely available, but performance drops if compressed or left with gaps. Batts are only as good as the installer's cuts around wiring, plumbing, and framing.
- Cellulose. Blown-in and made largely from recycled paper. It fills irregular cavities and goes around obstructions well, making it a strong retrofit choice for older attics. It settles over time, so installed density matters more than the bag rating, and it needs to stay dry.
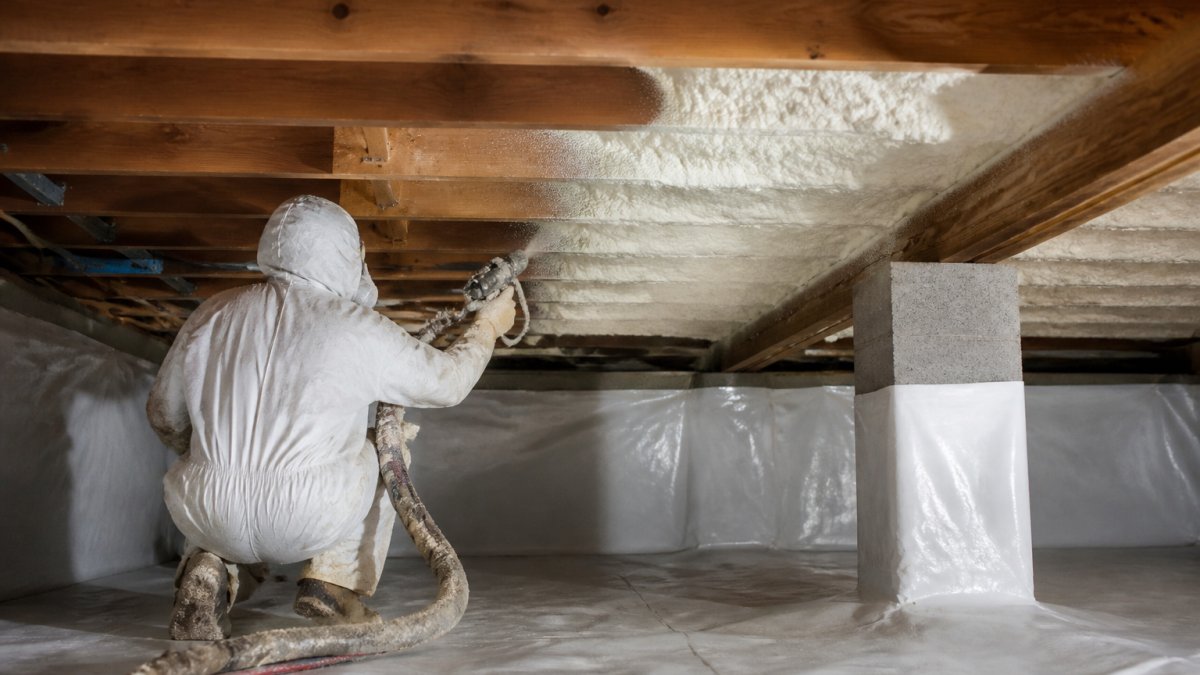
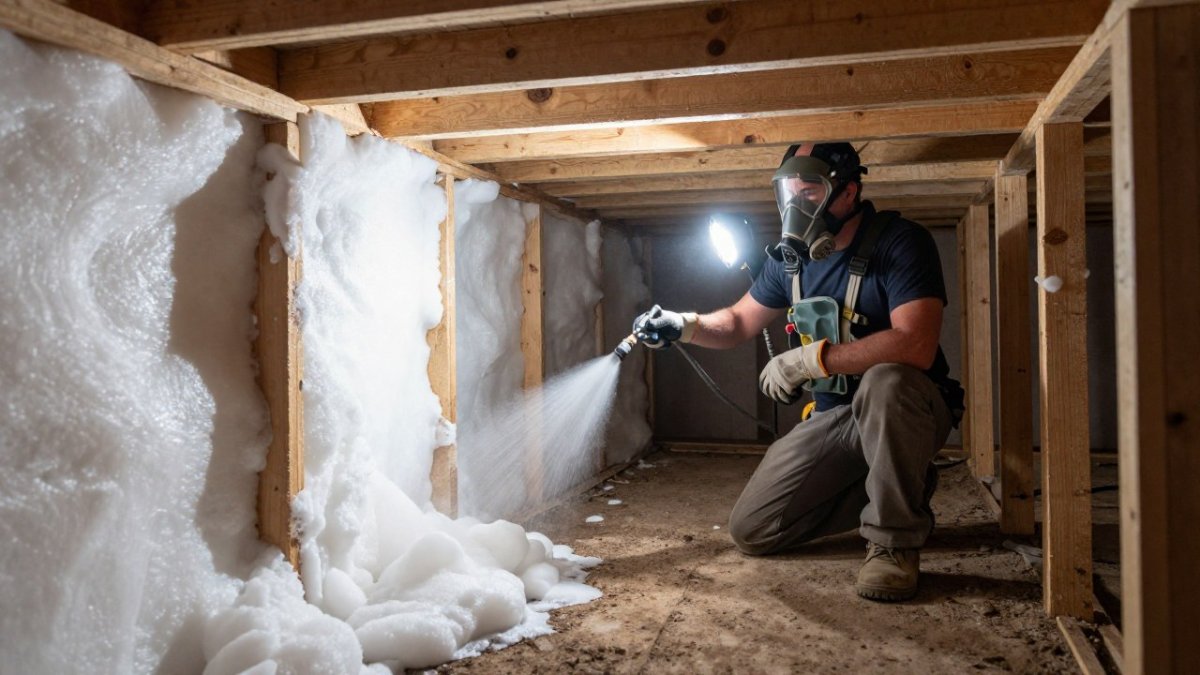
- Closed cell spray foam. Adds structural rigidity and acts as its own air barrier, making it a strong fit for rim joists, crawl space walls, and spots where sealing and insulating happen in one step. It costs more per square foot and requires proper ventilation and cure time.
A practical rule: use batts or blown material where the cavity is open and dry, and use closed cell foam where you need to seal as well as insulate. Mixing materials across one assembly is common and often correct, as long as the contractor explains why.
R-Value Targets Depend on Climate Zone and Assembly
R-value measures resistance to heat flow, and the recommended target is not one number for the whole country. Recommended R-values are often published by climate zone and building area, and current guidance should be confirmed with a qualified contractor. Local building codes may set different minimums, and a code minimum is not the same as an optimal target.
Three things follow from that:
- The same attic needs a different R-value in a cold climate than in a mild one. A contractor who quotes one target regardless of location is not matching the assembly to the climate.
- Different areas of the same house need different targets. An attic floor, cathedral ceiling, knee wall, and crawl space wall each have their own recommended range.
- Installed depth is what counts, not the bag label. Blown insulation settles and batts get compressed. The contractor should specify a target R-value for each area and verify installed depth against it before cleanup.
Moisture and Ventilation Come First
Moisture control comes before R-value. Insulating a wet crawl space traps the problem and can lead to rot, musty air, and failed insulation. Before any material goes in, the contractor should check for active leaks, high humidity, and blocked ventilation, and correct those conditions first. In attics, baffles at the soffits keep ventilation open so the roof deck can dry; blocking them for extra depth is a bad trade.
What to Ask Before You Choose
Ask the contractor four questions: What climate zone am I in, and what R-value do you recommend for each area? Which material are you using in each assembly, and why? How will you verify installed depth? And what moisture or ventilation corrections are included before installation? The answers tell you whether the material choice is matched to your home or simply sold from a truck.
Review attic insulation options and R-value guidance for the top of the house, or look at closed cell spray foam where a rigid, moisture-resistant barrier makes sense.
Booking Your Insulation Assessment
An assessment is the only way to know which benefits of professional insulation installation actually apply to your home.
We keep the process simple: inspect, quote in plain terms, and schedule the work.
Ready to find out where your home is losing heat? Contact ThermTech Solutions to schedule an assessment and get a straightforward quote.
Most homeowners are paying to heat and cool air that never stays in the house.
Frequently Asked Questions
Is professional insulation installation better than DIY?
For most homes, yes. Professional insulation installation covers the details DIY projects miss: air sealing around penetrations, correct R-value for your climate zone, and full coverage of hard-to-reach areas like rim joists and crawl spaces. Mistakes in those spots cause drafts and moisture problems that show up years later. A trained installer also knows how much to compress or not compress each material, which directly affects thermal performance and how long the insulation lasts.
How can you tell if insulation was installed correctly?
Check for even coverage with no gaps, compressed batts, or visible voids around wiring and pipes. Attic insulation should sit at a consistent depth with a measuring marker on the joists. Look for air sealing at top plates and penetrations before insulation went in. Signs of poor insulation installation include drafty rooms, ice dams, condensation on walls, and energy bills that stay high after an upgrade.
How does insulation installation affect energy bills?
Savings from sealing and insulating a home depend on your home's starting condition and how thoroughly the work is done. Including air sealing and the correct R-value for your climate zone generally improves results.
What does insulation installation cost typically include?
A quote should cover materials, labor, air sealing, removal of old or compressed insulation if needed, and cleanup. Material choice and square footage drive the total. For current pricing, contact ThermTech Solutions for a quote. Ask for a line-item quote so you can see what is included, and confirm whether old insulation removal carries a separate charge before work begins.