 How-to
How to Spot Signs of Damp Crawlspace Mold in Your Home
Quick Summary
Damp crawlspace mold shows up as musty odors near floor vents, visible fuzzy or powdery growth on joists and subfloor, and wood that stays wet or soft. Check the rim joist, floor joists, and ductwork first. Visible growth usually means moisture is still entering, so find and fix the source.
- A musty smell strongest near floor registers often points to a crawl space source.
- Check the rim joist and sill plate first, since they sit closest to outside moisture.
- Do not sweep, brush, or vacuum dry growth, because disturbed spores spread through the house.
- Measure crawl space humidity with a hygrometer and wood moisture with a pin-type meter.
- Treating mold without correcting moisture is the most common reason it returns.
Table of Contents
- Why Damp Crawlspaces Invite Mold Into Your Home
- Musty Odors and Stale Air Inside the House
- Visible Mold on Joists, Subfloor, and Wood Framing
- Signs of Excess Moisture, Standing Water, and Leaks
- Can Mold in a Crawl Space Get Into the House?
- Crawlspace Mold Removal and What Affects the Cost
- Next Steps: Scheduling a Crawlspace Inspection With ThermTech Solutions
- Frequently Asked Questions
Why Damp Crawlspaces Invite Mold Into Your Home
Last Updated: November 10, 2026
Damp crawlspace mold is one of the most common hidden problems in older American homes. The space under your floor is dark, cool, and rarely checked, so growth can spread for months before anyone notices. The damage often starts below the floor, then shows up upstairs as odors, sagging floors, and stale air.
A crawl space is not a sealed room. It takes in ground moisture, humidity from outside air, and water from leaks or poor drainage. Crawl spaces as reservoirs for transmission of mold to the indoor environment.
Mold needs moisture, a food source, and time. Wood framing, subfloor boards, and paper-faced insulation all give it food. When the air stays humid or the ground stays wet, those materials become a good home for spores.
Here is what usually feeds the problem:
- Ground moisture rising through bare soil
- Humid outside air entering through vents
- Leaking pipes, ducts, or drains
- Poor drainage around the foundation
- Torn or missing vapor barriers
Watch out: Do not assume a dry-looking crawl space is safe. Mold can grow on wood that looks clean, especially in shaded corners behind insulation.
Musty Odors and Stale Air Inside the House
A musty smell that comes up through floor registers is often the first clue. The odor comes from microbial growth giving off gases into the crawl space air, and that air rises into living areas through gaps around pipes, ducts, and floor penetrations.
Check for these warning signs:
- A damp, earthy smell strongest near floor vents
- Odor that worsens after rain or humid weather
- Stale air even when the HVAC system runs
- A smell that fades in winter and returns in summer
Many homeowners blame the smell on carpet or the basement. Start by checking the crawl space itself. If the odor is strongest near floor registers, the source is probably below you.
Visible Mold on Joists, Subfloor, and Wood Framing
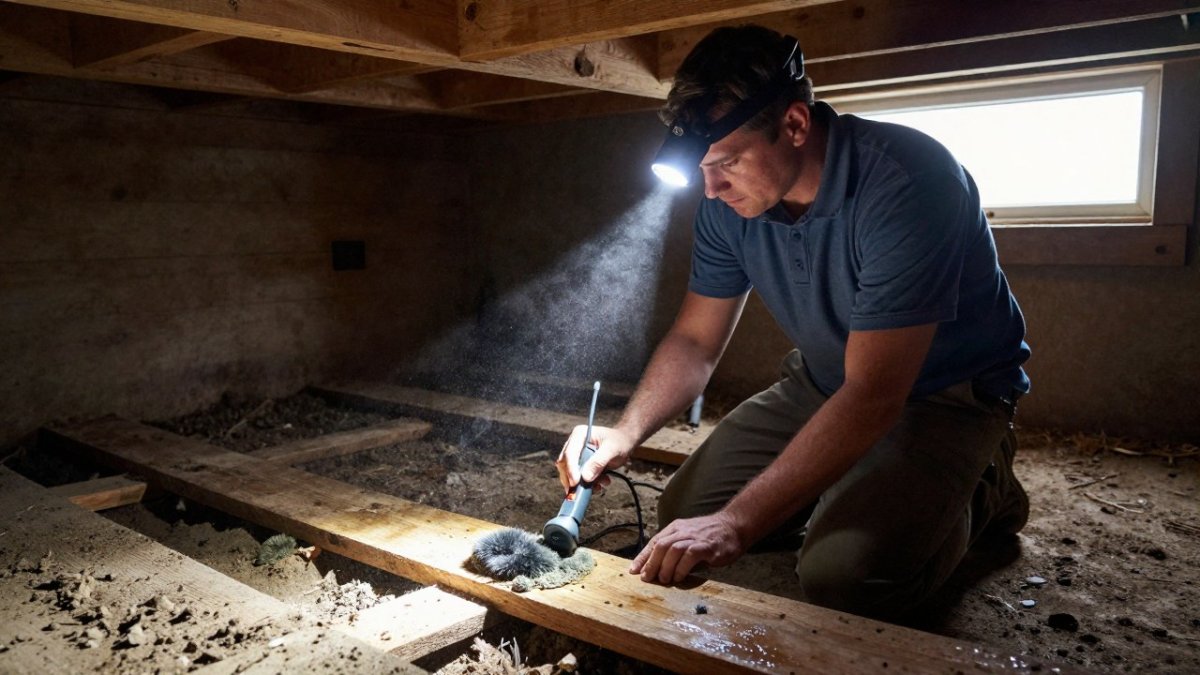
Visible growth is the clearest sign of damp crawlspace mold, but it is often hard to see without a light. Look at the wood where it meets the foundation, around the water heater or HVAC equipment, and in corners that stay dark. Growth can look fuzzy, powdery, or slightly slimy, and colors range from white and gray to green or black.
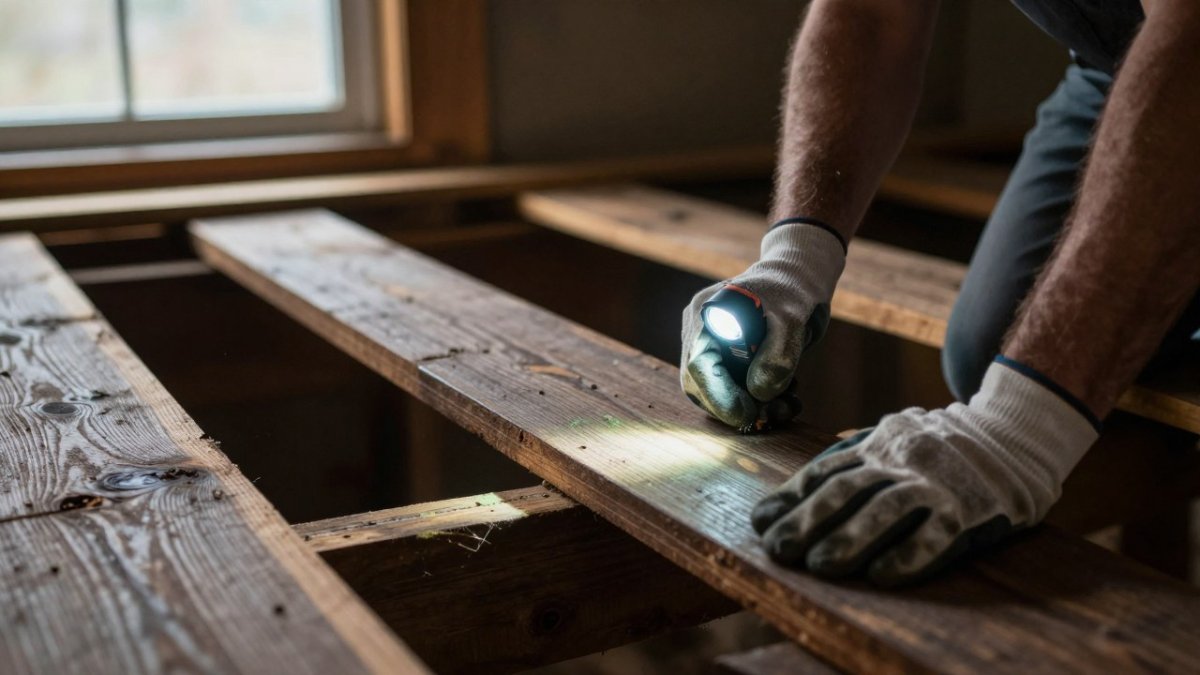
!A homeowner in work gloves with a flashlight inspecting dark wooden floor joists in a dim crawlspace, with faint gray-green growth visible on the wood
A safe inspection sequence
Work from the hatch inward and stop if conditions are unsafe. A practical order most practitioners use:
- Stand at the access opening with a bright flashlight and scan the first few feet before entering. If you see standing water, sagging framing, or strong odor, stop and call a professional.
- Put on gloves, a dust mask rated N95 or better, and eye protection. Wear shoes with grip; crawlspace soil and vapor barriers are slick.
- Check the rim joist and sill plate first, since these sit closest to outside moisture and are common early growth sites.
- Move along the floor joists and subfloor underside, then check ductwork, pipes, and the top of the vapor barrier.
- Photograph anything suspicious with a reference object (a coin or tape measure) so you can track spread over time.
Watch out: Do not sweep, brush, or vacuum dry growth. Disturbing a colony releases spores into the air you are breathing, and a shop vacuum without HEPA filtration can spread them through the house.
Telling mold from lookalikes
Not every stain is mold, and misdiagnosis leads homeowners to either panic or ignore a real problem.
- Efflorescence is a white, chalky, crystalline deposit left when water moves through concrete or masonry and evaporates. It usually wipes away easily, may dissolve in water, and feels gritty rather than fuzzy.
- Wood staining from tannins or water marks is flat, follows grain or water lines, and does not grow or change shape over weeks.
- Surface dust and construction debris can look powdery but wipes clean without a musty smell and does not return after cleaning unless moisture is present.
- Mold typically has a fuzzy, spotty, or velvety texture, may smear when touched, often carries a musty odor, and reappears after cleaning if the moisture source is still active.
A simple field test: dab a small suspect area with a white paper towel. Efflorescence leaves a chalky residue that rinses off; mold tends to smear and stain the towel. This is a screening aid, not a lab identification.
Measuring moisture instead of guessing
Texture and color are subjective. A pin-type moisture meter gives you a number. Wood framing that stays elevated across visits, rather than spiking once after rain, is worth investigating. Take readings in several spots, near the foundation, mid-span, and under plumbing, and write them down with the date. Rising or persistently high readings point to an active moisture source even when the wood looks clean.
If growth covers a large area, if the wood is soft or crumbly, or if you cannot identify the moisture source, stop and bring in a professional. At-home identification has real limits, and a qualified inspector can confirm the cause before remediation begins.
Signs of Excess Moisture, Standing Water, and Leaks
Moisture is the root cause, so look beyond the mold itself. Standing water, rust on metal supports, wet insulation, and soft or stained wood all point to a moisture problem that needs fixing.
Common moisture signs:
- Puddles or damp soil after rain
- Condensation on pipes, ducts, or the underside of the subfloor
- Rust on nails, brackets, or metal ductwork
- Insulation that sags, stays wet, or falls away from joists
- Soft or darkened wood near the foundation
- A white chalky line on the foundation wall where water has repeatedly risen and dried
Measure the air, not just the surfaces
A cheap hygrometer placed on a joist a few feet inside the crawl space turns a vague feeling into a number. Keeping crawlspace relative humidity well below the point where condensation forms is the goal. Read it on a dry day and again after rain to see how conditions change. Log the readings with dates so you can see whether conditions are improving.
Pair the hygrometer with a pin-type moisture meter on wood. Wood can hold enough moisture to support growth even when it looks and feels dry on the surface.
Find the source before you treat the mold
Treating growth without correcting moisture is the most common reason it returns. Work through the likely sources in order of effort:
- Ground moisture, bare soil under the home releases water vapor continuously. A properly installed and sealed vapor barrier over the soil is one common way to limit ground moisture.
- Roof and gutter drainage, downspouts that discharge near the foundation push water back under the house. Extend them several feet away and check that the ground slopes away from the foundation.
- Plumbing and HVAC leaks, slow drips from supply lines, drains, or condensate lines are easy to miss. Look for staining and corrosion at joints.
- Outside air and vents, in humid climates, open foundation vents can admit moist air that condenses on cool framing. Whether to vent or seal is a climate-specific decision best made with a local professional.
- Exterior grading and foundation cracks, water pooling against the foundation finds its way in through cracks and the sill area.
Verify the fix actually worked
Repairs are not done when the mold is wiped away; they are done when the space stays dry. After correcting the source, re-check the hygrometer and moisture meter at the same spots on dry days and after rain for several weeks. Humidity that stays below your target and wood readings that trend down and hold confirm the fix. Readings that climb again mean the source was not fully addressed. Keep the log, it is also useful evidence if you later sell the home or file an insurance claim.
If moisture returns despite your efforts, or if you cannot locate the source, a professional inspection with thermal imaging and moisture mapping can find what visual checks miss.
The moisture sources that feed crawlspace mold, and the fixes that address them, are summarised below.
| Moisture source | Fix |
|---|---|
| Ground moisture | Properly installed, sealed vapor barrier over soil |
| Roof and gutter drainage | Extend downspouts several feet; slope ground away |
| Plumbing and HVAC leaks | Check joints for staining and corrosion |
| Outside air through vents | Vent or seal, decided by local climate |
| Foundation cracks and grading | Repair cracks; correct pooling near foundation |
Can Mold in a Crawl Space Get Into the House?
Yes. Mold spores and musty air move upward through gaps around plumbing penetrations, electrical wiring, ductwork, and floor cracks. Pressure differences in the home can pull crawl space air upstairs, especially when the HVAC system runs.
A common mistake is treating the upstairs symptoms alone. Air purifiers and fresh paint hide odors but do not stop the source. Seal the gaps and fix the moisture source before expecting indoor air to improve.
Crawlspace Mold Removal and What Affects the Cost
Mold removal cost depends on how far growth has spread, how much moisture needs correcting, and whether damaged wood or insulation must be replaced. Verified Remediation lists crawl-space mold remediation at $500 to $2,000, but this is a general estimate and the actual scope of your project may fall outside that range. Learn how crawlspace encapsulation addresses the moisture behind the mold.
Factors that change the price include:
- Size of the affected area
- Extent of wood rot or structural damage
- Need for drainage, vapor barrier, or ventilation work
- Whether insulation must be removed and replaced
Pricing depends on the scope of your specific project. For current pricing or a quote for your crawl space, contact ThermTech Solutions.
Next Steps: Scheduling a Crawlspace Inspection With ThermTech Solutions
If you have spotted any of these signs, do not wait for the problem to spread. Book a professional crawlspace inspection to confirm the cause. Start with a careful visual check, then arrange a professional inspection to confirm the cause. ThermTech Solutions provides insulation services for crawl spaces, so you can contact the team to discuss what your space needs.
Contact ThermTech Solutions to discuss your crawl space and the insulation options available.
Frequently Asked Questions
What are the signs of mold in a damp crawlspace?
The most common signs are a musty or mildew odor that drifts upstairs, visible fuzzy or powdery growth on floor joists and subfloor, sagging or wet insulation, condensation on pipes and ductwork, and standing water or water stains. Floors that feel soft, cup, or sag can also point to wood damage caused by prolonged moisture. Any one of these is reason to inspect further, and several together usually mean the moisture problem is already established.
Can crawlspace mold get into the house?
Yes. Mold spores from a damp crawl space can move up through gaps around plumbing penetrations, electrical wiring, ductwork, and unsealed subfloor seams. Stack effect and HVAC pressure differences pull air upward, which carries spores and musty odors into living areas. Sealing openings and controlling moisture below the house are the most effective ways to limit this movement.
How much does crawlspace mold removal cost?
Crawlspace mold removal cost depends on the scope of the work. Actual cost depends on the size of the affected area, how much wood must be replaced, the moisture source, and whether the repair includes drainage or ventilation work. For current pricing or a quote based on your crawlspace, contact ThermTech Solutions.
Can mold in a crawlspace cause health problems?
Mold in a crawl space can release spores and volatile compounds that may irritate the eyes, nose, throat, and airways, particularly for people with asthma, allergies, or weakened immune systems. Symptoms such as persistent coughing, sneezing, or headaches that improve when you leave the house can be a warning sign. If anyone in the home has these symptoms, limit exposure, avoid disturbing growth yourself, and consult a healthcare provider and a qualified professional.